How to Prep Your Logo and Artwork for the Best Screen Print Results
Practical, step-by-step guidance for Missouri customers on file types, resolution, color setup, and layout so proofs move quickly and screen-printed shirts, hoodies, and promo items come out sharp.
Why proper artwork prep matters
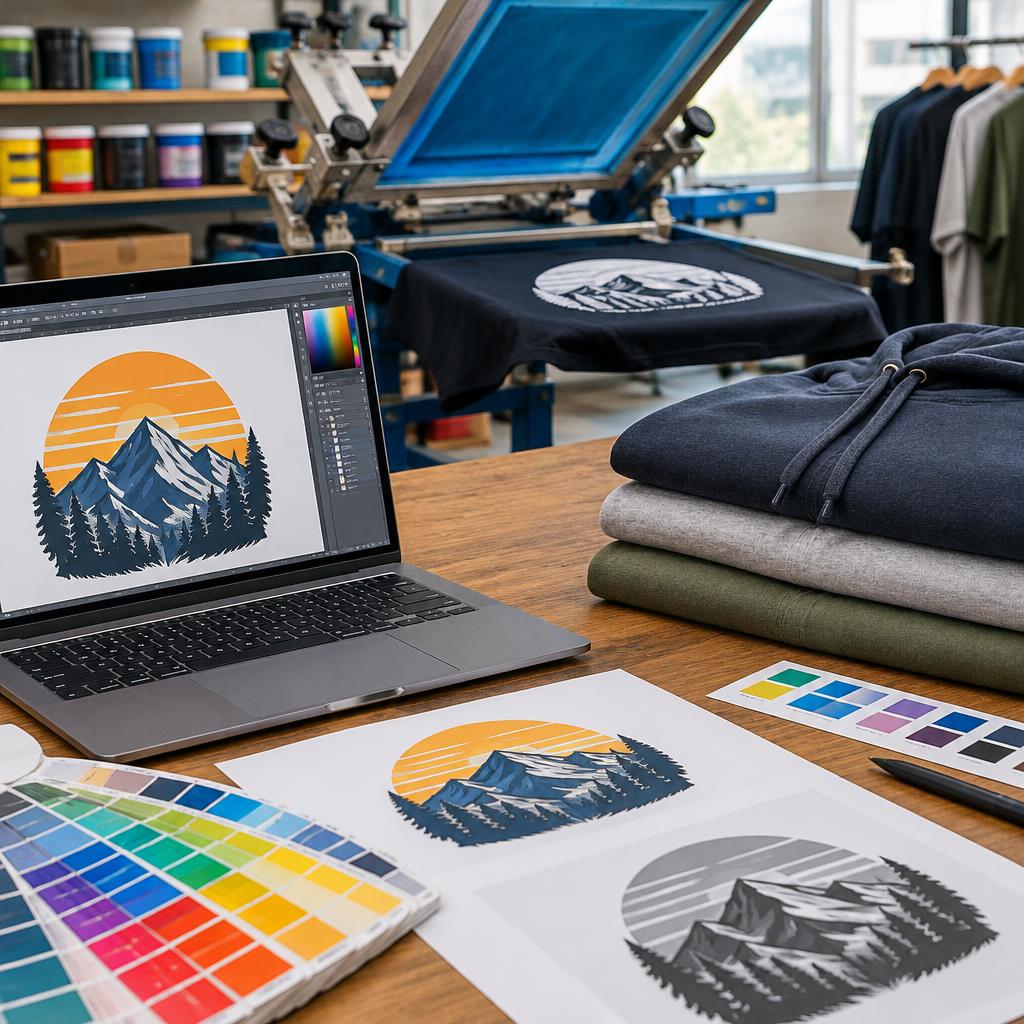
Good artwork preparation reduces proofing time, avoids unexpected costs, and produces sharper, longer‑lasting printed results. For screen printing in particular, files that clearly separate colors, use high‑quality artwork, and indicate intended print size make it easier for print shops to create accurate screens and proofs. If you are in Missouri or the greater St. Louis area and plan to work with a local screen printer, preparing your files correctly will help move your project from concept to finished apparel faster.
Choose the right file format — vectors first
Whenever possible provide vector files (AI, EPS, or PDF saved from vector art) for logos and text. Vector artwork scales cleanly to any size and is ideal for crisp screen printing. If your artwork contains photographs or raster elements, supply high‑resolution raster files (PNG or TIFF) with a transparent background when appropriate. If you must send a raster file, provide it at the actual print dimensions rather than a small thumbnail so the printer can assess detail and halftone needs.
Resolution and sizing best practices
Make sure raster artwork is created at print size and at high resolution so images do not appear soft or pixelated. For vector art, confirm the final artboard or page size matches the intended print dimensions. Avoid scaling up low‑resolution images — scaling up magnifies pixelation. If you are unsure about the correct size for chest prints, back prints, or sleeve prints, ask your printer for size templates or guidance before exporting your final files.
Colors, separations, and gradients
Screen printing reproduces colors with individual ink passes, so simpler color separations are easier to print cleanly. Use spot (Pantone) colors when you need precise brand matching and provide the Pantone numbers if available. For multi‑color artwork, separate each solid color into its own layer or file. Gradients and photographic blends require halftones (a dot pattern) and should be converted appropriately; discuss halftone frequency and appearance with your printer if your design relies on subtle blends. Keep in mind that the number of colors in your design affects production complexity, so simplifying color usage where possible speeds proofing and can improve registration.
File setup: fonts, transparency, and layers
Before exporting, convert fonts to outlines or embed them so text does not substitute or shift. Flatten complex effects that may not translate to screen printing (drop shadows, certain layer effects) unless you confirm the printer can reproduce them. Maintain separate layers for art, type, and separations when possible, and remove extra hidden layers. Save a working file and export a print-ready version with transparent background where appropriate. Include any brand color codes or usage notes in a separate text file to avoid misinterpretation.
Communicate early and use proofs
Provide a short brief with each artwork submission: intended garment color, desired print placement and size, and any brand color tolerances. Request a digital mockup or proof and review it carefully for scale, alignment, and color. Kick Print and many local printers offer free mockups and design help — use that service. One customer noted that the Kick Print team called to confirm graphic size before proceeding, which is the sort of early communication that prevents last‑minute changes and delays.
Final checklist and next steps
Before sending files, run this checklist: supply vector artwork when possible (AI/EPS/PDF); include high‑resolution raster images at print size; outline fonts and provide Pantone or brand color references; keep each print color separated or on its own layer; remove unintended backgrounds; and add a brief note about intended garment color and placement. If you need help, take advantage of free mockups, free design assistance, and setup services offered by your printer to speed approvals. When ready, submit your files with a clear filename and versioning (for example, projectname_logo_v1.pdf) and ask for a proof with scale measurements so you can approve without delay.
Customer review


Article by
Kick Print
We offer the easiest and most streamlined T-Shirt Printing and Ordering in the STL Area. Order without the headaches and get quality custom apparel at a price you can afford. You also get, Free Shipping, Free Setup, Free Graphic Design Help. Get in touch with us today and lets get started on your project.